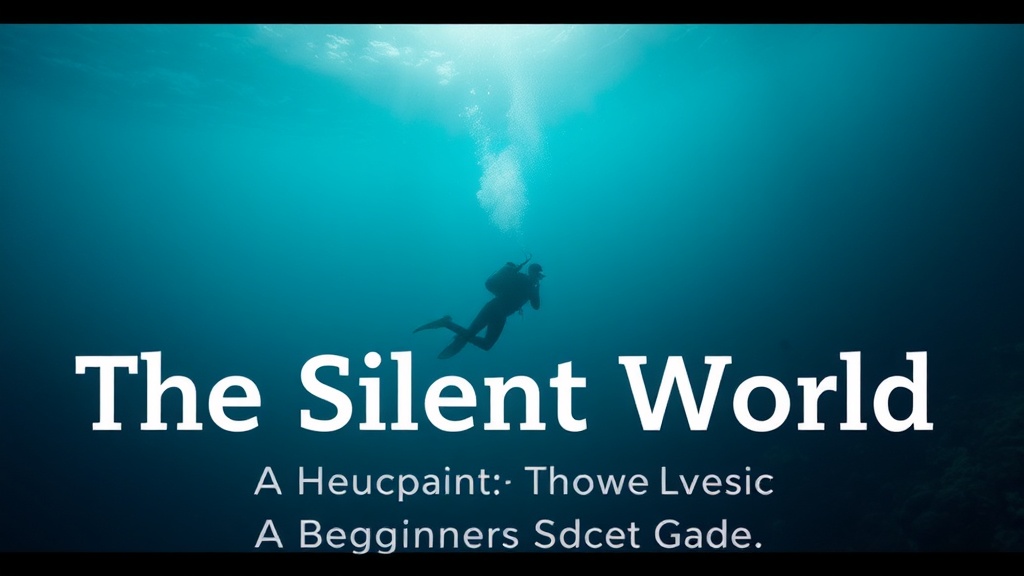
The Silent World: A Beginner's Guide to Freediving
This guide covers everything needed to start freediving safely—from breath-hold techniques and equalization methods to choosing the right gear and finding certified training locations. Freediving opens access to underwater worlds without the weight of scuba equipment, allowing swimmers to glide silently alongside reefs, encounter marine life without bubbles, and discover a meditative state that transforms how the body responds to depth. Whether planning a trip to Hawaii's clear waters or exploring local quarries, these fundamentals will get anyone started on solid ground.
What Is Freediving and How Does It Differ from Scuba?
Freediving is underwater diving on a single breath without breathing apparatus. Unlike scuba diving—which relies on tanks, regulators, and compressed air—freediving depends entirely on the diver's ability to hold their breath while descending and ascending.
The differences run deeper than equipment. Scuba divers can stay submerged for 30 to 60 minutes, breathing continuously while observing depth limits and decompression obligations. Freedivers trade time for freedom—typically spending 1 to 4 minutes underwater per dive, but moving without drag, noise, or exhaled bubbles that spook marine life.
There's also the question of logistics. Scuba requires filling stations, heavy gear transport, and often boat support. A freediver needs minimal equipment—mask, fins, and breath—which makes it ideal for adventure travelers hopping between islands or living from a van. The sport fits naturally into surf trips, coastal camping, and spontaneous beach stops.
The physiological experience differs dramatically too. Scuba maintains ambient pressure in the lungs through the regulator. Freediving subjects the body to increasing pressure as depth increases, triggering mammalian dive reflexes that slow the heart and redirect blood to vital organs. It's a direct conversation with the body's ancient aquatic adaptations.
How Long Can Beginners Hold Their Breath Underwater?
Most beginners achieve 45-second to 1.5-minute breath-holds within their first session, with proper coaching often extending this to 2 to 3 minutes within weeks.
These numbers surprise people. The human body stores far more oxygen than most realize—the limitation isn't lung capacity but comfort with improved carbon dioxide levels. That burning urge to breathe? It's CO2 buildup, not oxygen starvation. Understanding this distinction changes everything.
Progress follows a predictable curve. Static apnea (holding still on the surface) typically yields longer times than dynamic apnea (swimming horizontally) or open-water diving. Depth adds pressure, which compresses air spaces and increases the urge to breathe sooner.
| Experience Level | Static Apnea (Surface) | Dynamic Apnea (Pool) | Open Water Depth |
|---|---|---|---|
| First Day | 30-60 seconds | 25-40 meters | 3-5 meters |
| 1-2 Weeks | 1.5-2.5 minutes | 50-75 meters | 8-12 meters |
| 3-6 Months | 3-4 minutes | 100-150 meters | 15-20 meters |
| Advanced | 5+ minutes | 200+ meters | 30-40+ meters |
The key isn't forcing longer holds—it's relaxation. Tension burns oxygen. Beginners often double their breath-hold times simply by learning to settle the mind and release unnecessary muscle tension. The catch? This takes practice, not willpower.
What Gear Do Beginners Actually Need?
Beginners need four core items: a low-volume mask, long freediving fins, a comfortable wetsuit, and a weight belt—with total investment ranging from $300 to $800 depending on quality and brand choices.
Here's where many newcomers stumble. Scuba masks hold too much air, making equalization difficult below 10 meters. Freediving-specific masks like the Mares Viper or Cressi Calibro feature lower internal volume, reducing the air needed to equalize mask pressure. Expect to pay $50 to $120.
Fins matter enormously. Long-bladed freediving fins—typically 75 to 100 centimeters—transfer energy efficiently with minimal kick frequency. The Cressi Gara 3000 LD offers an excellent entry point around $150. Carbon fiber blades from Leaderfins or Molchanovs ($300 to $600) provide more responsiveness but aren't necessary for learning proper technique.
Wetsuits serve dual purposes: thermal protection and hydrodynamics. Freediving suits are typically two-piece (jacket plus high-waisted pants) with smooth outer surfaces that reduce drag. Open-cell interior material (neoprene without nylon lining) creates a watertight seal but requires lubricant to don. For warm Hawaiian waters, a 3mm suit suffices. Colder Pacific Northwest diving demands 5mm to 7mm thickness. Brands like Salvimar, Picasso, and Polosub dominate the market.
Weight belts counteract wetsuit buoyancy. Rubber belts stay positioned during descents where nylon slips. Quick-release buckles are non-negotiable—any instructor will verify this before allowing open-water practice. Start with no weight in the pool, add gradually for ocean sessions.
Nice-to-have items include a dive computer (the Suunto D4F or Garmin Descent G1 track depth and surface intervals), a nose clip for pool training, and a buoy with a downline for controlled depth progression. These can wait—a competent instructor provides shared equipment during courses.
How Do You Equalize Pressure While Descending?
Freedivers equalize pressure in the ears and sinuses using the Valsalva maneuver (pinching the nose and blowing gently) at shallow depths, then transitioning to the Frenzel technique for efficient equalization below 10 meters.
Equalization separates casual snorkelers from capable freedivers. Failure here causes barotrauma—ruptured eardrums, sinus squeezes, or damage that grounds flying for weeks. Not worth rushing.
The Valsalva works fine for the first 5 to 10 meters. Air compresses in the lungs as depth increases, making it progressively harder to generate enough pressure to force air into the middle ear. That's where the Frenzel technique comes in.
Frenzel uses the tongue as a piston, compressing air in the back of the mouth rather than the lungs. Here's the thing—it's a mechanical skill, not strength. The tongue pushes upward against the sealed soft palate while the nose pinched shut directs air flow through the Eustachian tubes. Learning this takes days or weeks of dry practice before it clicks underwater.
Some divers naturally perform hands-free equalization (tensor veli palatini muscle control). Others never achieve it. Don't let this discourage early progress—many excellent freedivers use nose clips and Frenzel to reach impressive depths.
Worth noting: equalize early and often. Begin the descent slowly, clearing every meter before pressure builds. Waiting until discomfort appears means waiting too long. Reverse squeezes during ascent (trapped air expanding) are less common but require awareness during the return path.
Key Training Locations for Beginners
Hawaii dominates North American freediving instruction for good reason—warm water, consistent conditions, and dramatic underwater topography. Specific sites worth considering:
- Molokini Crater, Maui: Calm, protected waters with 30+ meter visibility. Several operators run morning trips specifically for freedivers.
- Electric Beach, Oahu: A power plant outflow creates warm, fish-rich water with easy shore entry. Depths range from 5 to 15 meters—perfect for beginners.
- Two Step, Big Island: Crystal-clear water over coral gardens, though weekend crowds require early arrival.
Mainland options exist for those not island-bound. Deer Creek Reservoir near Heber City, Utah offers surprisingly clear freshwater diving with marked depths. Homestead Crater in Midway, Utah provides 30-meter geothermal spring diving in 96°F water—ideal for winter training. Florida's Blue Heron Bridge delivers accessible shore diving with abundant marine life.
Formal certification comes through AIDA International, PADI Freediver, or Molchanovs programs. AIDA Level 1 or PADI Basic Freediver requires one to two days and covers safety protocols, breathing techniques, and supervised open-water sessions. Costs range from $250 to $500 depending on location and group size.
What Are the Real Safety Considerations?
Freediving carries risks—shallow water blackout, lung squeeze, and barotrauma being the primary concerns—but proper training, buddy protocols, and conservative progression reduce these to manageable levels comparable to recreational scuba or rock climbing.
Shallow water blackout deserves particular attention. It's a loss of consciousness caused by oxygen deprivation, typically occurring in the last 10 meters of ascent when oxygen pressure drops fastest in the lungs. The insidious part? No warning signs. Victims don't feel hypoxic—they simply pass out.
This is why the buddy system isn't optional. A trained partner watches the diver throughout the entire dive, ready to assist at the first sign of trouble. One-up, one-down protocols ensure someone capable always remains at the surface. Never freedive alone. Not once. Not in a pool. Not for "just a quick dip."
Lung squeeze affects deeper divers—typically below 30 meters—where residual lung volume compresses below closing volume. Blood pooling in the alveoli prevents total collapse but repeated deep diving without adequate recovery can cause trauma. Beginners won't encounter this for months or years, but awareness matters.
Surface intervals matter enormously. Oxygen debt accumulates across repeated dives. A conservative rule: rest at least twice as long as the previous dive time before descending again. Three minutes down means six minutes minimum on the surface—longer for deeper attempts.
"The ocean doesn't care about your personal best. Respect the protocols, dive within your training, and you'll have decades of underwater exploration ahead of you."
Medical fitness requirements parallel scuba—no active asthma, uncontrolled blood pressure, or history of spontaneous pneumothorax. A physician clearance may be required for certification. Pregnancy is generally considered a contraindication, though research continues.
Where Should Complete Beginners Start?
Complete beginners should start with a certified course at a recognized training center, practicing breath-hold techniques on land and in pools before attempting open-water depths.
The progression isn't complicated, but it rewards patience. Week one: dry breath-hold practice and Frenzel technique mastery on land. Weeks two to three: pool sessions with a buddy, learning finning technique, turns, and rescue protocols. Week four and beyond: open-water training with professional supervision.
Preparation between sessions accelerates progress. Diaphragmatic breathing exercises (five minutes daily) increase comfort with respiratory sensations. CO2 tables—structured breath-hold intervals that improve carbon dioxide tolerance—build mental resilience. Apps like STAmina or Freediving Apnea Trainer provide structured protocols.
Physical fitness helps but isn't the primary factor. Strong swimming ability (200+ meters continuous) provides safety margin. Flexibility—particularly chest and hip flexors—improves diaphragmatic relaxation. Cardiovascular fitness enables faster surface recovery between dives.
Mental preparation matters as much as physical. The urge to breathe triggers at around 70% of actual oxygen capacity—there's significant reserve beyond the discomfort. Learning to observe this sensation without panic is the core skill of freediving. Some practitioners describe it as underwater meditation. Others call it learning to trust the body's ancient wisdom.
Start shallow. Start slow. The deep isn't going anywhere—and the silence waiting down there rewards those who arrive prepared.