DIY Dry‑Land Breath‑Hold Trainer: Build in 5 Simple Steps

Hook
Ever wish you could squeeze an extra 10‑15 seconds out of every dive without hopping into the ocean?
Context
The secret isn’t a new mask or a fancy fin—it’s a simple, home‑built dry‑land trainer that forces your body to adapt to rising CO₂ while you’re still on solid ground.
What’s the biggest barrier to consistent dry‑land training?
Most freedivers either skip it because they don’t have a dedicated setup, or they buy expensive gadgets that sit unused. The result? Stagnant CO₂ tolerance and slower progress in the water.
What will you need to build a reliable trainer?
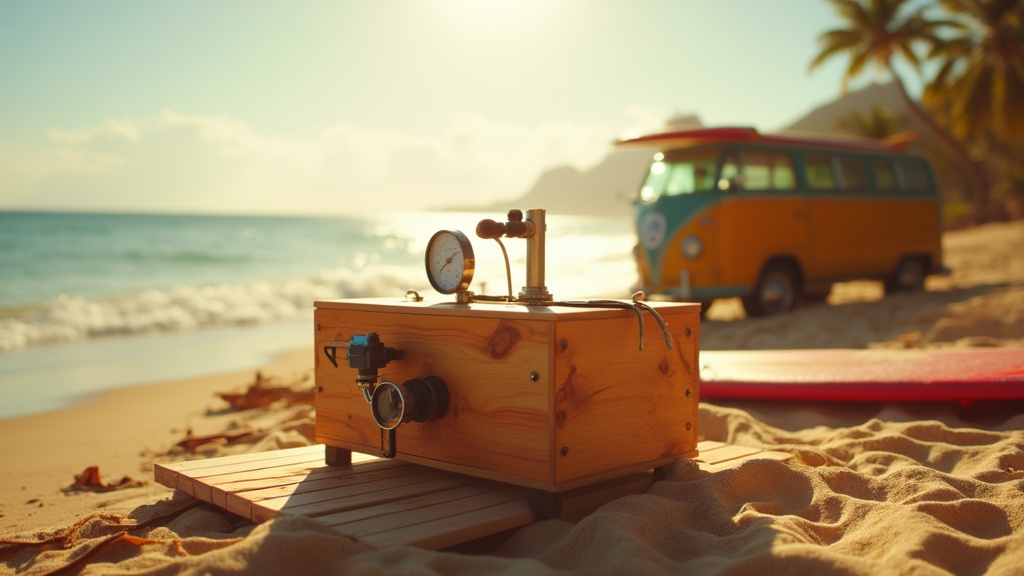
- A sturdy wooden box (≈30 × 20 × 10 cm) — a small crate or repurposed shoe box works.
- A calibrated pressure gauge (10‑30 psi range) — you can reuse a bike‑pump gauge or a cheap aquarium gauge. AIDA International’s equipment guide explains acceptable pressure ranges for breath‑hold training.
- A rubber stopper or silicone plug — to seal the box airtight.
- A simple timer (phone alarm works) — to track hold intervals.
- Optional: a small LED strip — for visual feedback during night training.
Step‑by‑step: How to assemble your trainer
- Seal the box
Drill a 2 cm hole in the center of the lid, insert the rubber stopper, and ensure it’s airtight. Test by pressing the gauge; no air should leak. - Mount the pressure gauge
Secure the gauge to the side of the box with zip ties or a small bracket. Align it so the needle is visible when the lid is closed. - Create the air‑flow valve
Cut a tiny slit (≈3 mm) opposite the gauge. This acts as a controlled leak, letting you feel the pressure rise as you hold your breath. - Add the timer
Place your phone or a waterproof timer inside the box, set to vibrate at the desired interval (e.g., 30 s, 45 s, 60 s). The vibration will be felt through the box walls. - Test and calibrate
Close the lid, press the gauge to a known pressure (e.g., 5 psi), and hold your breath while watching the gauge climb. Adjust the slit size until the pressure rises at a steady, challenging rate.
Pro tips — How to get the most out of your trainer
- Progressive overload: Start with a 30‑second hold, then add 5‑second increments each session.
- Visual cue: Attach an LED strip that dims as pressure builds; it gives a quick visual cue without looking at the gauge.
- Recovery breathing: After each hold, practice the *4‑2‑1* breathing pattern (4 sec inhale, 2 sec hold, 1 sec exhale) to reset CO₂ levels efficiently.
Common mistakes — What to avoid
| Mistake | Why it hurts | Fix |
|---|---|---|
| Using a loose stopper | Air leaks prevent pressure buildup, making the trainer ineffective. | Ensure the stopper fits snugly; use silicone sealant if needed. |
| Ignoring gauge calibration | Inaccurate readings lead to over‑ or under‑training. | Calibrate with a known pressure source before each week’s sessions. |
| Holding too long too soon | Increases risk of shallow water blackout when you transition to water. | Stick to the 30‑second baseline until you can comfortably hit 45 seconds. |
| Training in a hot, humid room | Elevated temperature speeds CO₂ accumulation, skewing results. | Train in a cool, well‑ventilated space; keep the box out of direct sunlight. |
Wrap‑up — What’s the next step?
You now have a low‑cost, portable trainer that can be set up on any beach deck, in your van, or even on a balcony. Use it 3‑4 times a week, track your pressure curves, and watch your in‑water breath‑holds improve by seconds each month.
Ready to dive deeper? Check out my post "The Living Room Descent: Why Your CO₂ Tolerance Is Built on Dry Land" for the science behind CO₂ training, and the "7 Pre‑Dive Warm‑Up Routines Every Freediver Should Try" for a complete preparation routine.
Related Reading
- The Living Room Descent: Why Your CO₂ Tolerance Is Built on Dry Land — Dive into the physiology that makes dry‑land training effective.
- 7 Pre‑Dive Warm‑Up Routines Every Freediver Should Try — Pair your trainer with a solid warm‑up for maximum performance.
- The MDR Has Three Layers. Most Instructors Only Teach You One. — Understand the full Mammalian Dive Reflex to complement your training.